Ever notice how your Mac loves to doze off right in the middle of a massive file download or a long software update? It is frustrating to step away for a quick coffee only to find your progress stalled because the system went to sleep. While your energy settings are great for battery life, they often get in the way when you actually need your machine to stay powered up and productive.
I am going to show you how the native macos caffeinate command gives you instant, surgical control over your system sleep habits without digging through menus. We will break down how to use this Terminal tool and even look at some visual alternatives to keep your Mac awake exactly when you need it.
What Is the macOS Caffeinate Command?
The native caffeinate Terminal command prevents Mac sleep modes using flags like -u for active displays or -t for timed sessions. It bypasses System Settings temporarily, requiring only a simple Control-C to terminate the process instantly.
The fact that you can kill the process in a heartbeat leads naturally into how you initiate your very first session through the Terminal interface.
Launching Your First Stay-Awake Session
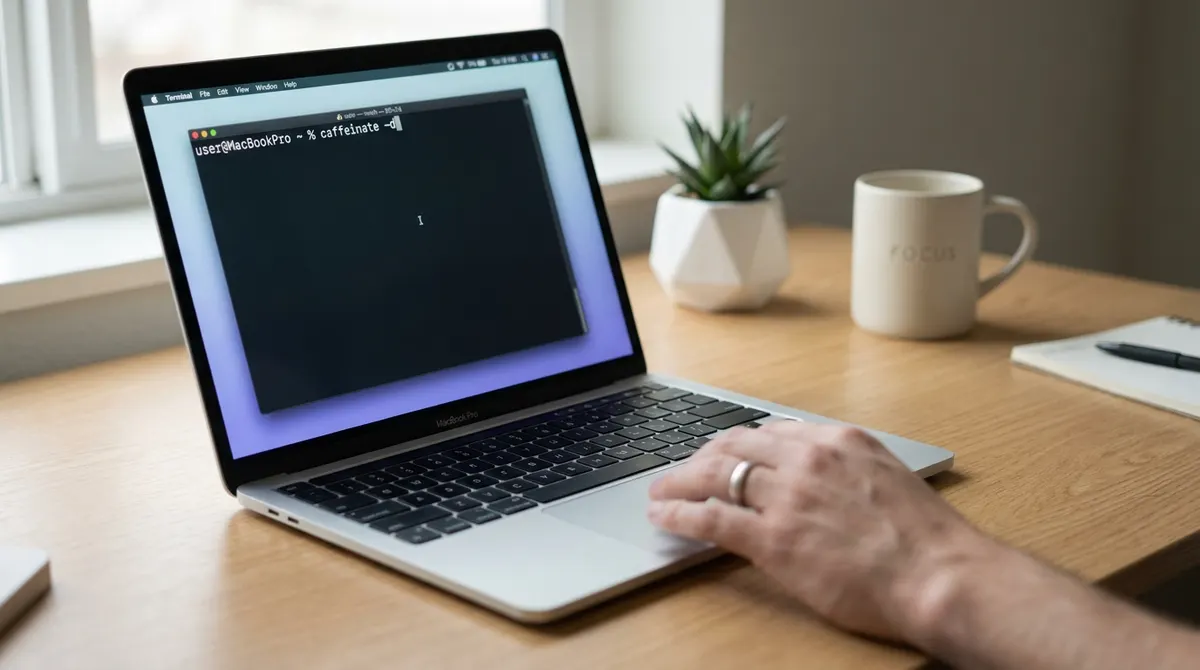
Open Terminal via Spotlight. Type the word caffeinate without any extras. Hit enter to start the basic prevention of system sleep immediately.
The command stays active while the window remains open. Your Mac won't sleep during this time. It's perfect for quick tasks that need an awake system right now.
Keep the Terminal visible. Closing the app kills the command and restores normal power settings.
Why Terminal Beats System Settings Sliders
System Settings require digging through menus. You often forget to change them back later. This leads to wasted battery life overnight. Caffeinate offers a temporary fix instead. It's much faster for one-off tasks like large file downloads or updates.
Terminal commands don't alter your permanent energy profile. They provide surgical precision for specific work sessions without lasting consequences.
You gain control over the hardware without clicking through multiple UI layers. It's the professional way to manage power.
Stopping the Process with a Keyboard Shortcut
Press Control-C to stop the command instantly. This returns your Mac to its original sleep schedule. You'll see a new prompt line appear in the Terminal window when successful.
Alternatively, just quit the Terminal app. Both methods effectively end the stay-awake session and save power.

Mastering Flags for the macOS Caffeinate Command
But using the basic command is just the start; adding specific modifiers allows you to tailor how long and why your Mac stays awake.
Setting a Timer with the -t Modifier
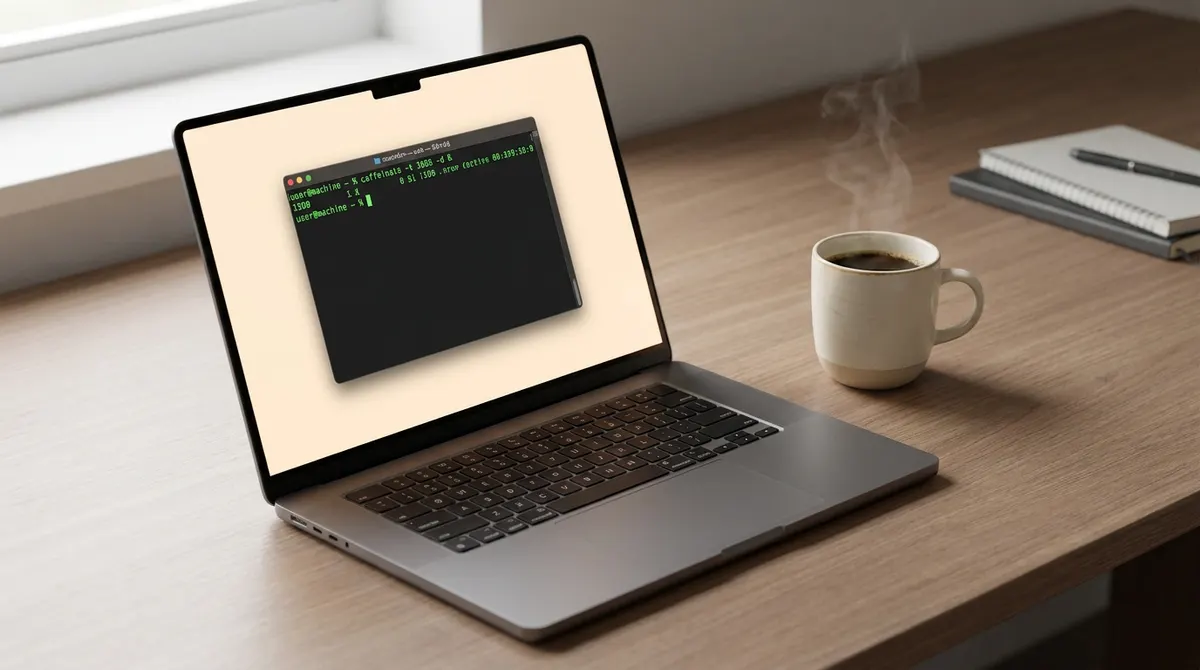
The -t flag uses seconds for duration. You must calculate the time before typing. For thirty minutes, use eighteen hundred seconds. For one hour, use thirty-six hundred. This ensures the command stops itself automatically after the work is done.
Type caffeinate followed by -t and your number. It prevents the Mac from staying awake indefinitely. This protects your battery if you walk away from your desk.
It is a set-and-forget solution for long renders. You don't have to monitor the clock. The system handles the countdown and sleeps normally once the timer hits zero.
Choosing Between -i, -s, and -d Flags
The -i flag prevents idle sleep only. Your system stays awake while processes run. It is the most common choice for background tasks that don't need the screen.
Use -s to keep the entire system from sleeping. This is more aggressive than the idle flag. It ensures the CPU remains active regardless of user input. Use it for critical server tasks or very long script executions.
The -d flag keeps the display turned on. This is vital for presentations or monitoring live data. Your screen won't dim or turn black during the session.
3 Ways to Use Caffeinate for Power Users
Beyond simple timers, you can link this power management directly to specific applications or hardware conditions to automate your workflow.
Linking Caffeinate to a Specific Process ID
Use the -w flag followed by a process ID. This monitors a specific app. When that app closes, caffeinate stops automatically. It's a very smart way to automate.
Find the PID in Activity Monitor first. Then run the command in Terminal. This ensures your Mac only stays awake as long as the heavy task is running. It saves energy by sleeping the moment the job finishes.
This method is perfect for video exports. It bridges the gap between manual control and full automation.
Handling Low Battery and Hardware Limits
Caffeinate can drain your battery quickly. It forces the hardware to stay active. Always plug in your MacBook for long sessions. This avoids unexpected shutdowns during important tasks.
macOS has built-in safety limits. The command might fail if the battery hits a critical level. This protects the hardware from damage. It's a necessary fail-safe for laptops.
Monitor your heat levels too. Keeping the screen and CPU active generates warmth. Ensure proper ventilation when running these commands for hours. Don't leave it in a bag.
Easy Alternatives to the Terminal Command
If the command line feels too technical, several visual tools and automation scripts provide the same benefits with a friendlier interface.
Top GUI Utilities for Visual Control
Amphetamine is a popular choice. It sits in your menu bar. You can toggle sleep prevention with a single click. It uses the same system calls as Terminal.
These apps offer visual timers and triggers. You can set them to activate when connecting to specific Wi-Fi networks. It is much more intuitive for most users than typing code.
They provide a clear icon. You always know if your Mac is set to stay awake.
Automating Stay-Awake Tasks with LaunchAgents
LaunchAgents allow you to run caffeinate at startup. This is great for Mac minis used as servers. You create a simple plist file. It tells macOS to keep the system awake every time it boots up. This ensures constant uptime.
It removes the need for manual input. Your settings become persistent across reboots. This is the ultimate power user move.
Be careful with this setup. It will keep the Mac awake forever until you remove the script.
Mastering the macos caffeinate command gives you surgical control over your Mac's sleep habits without messy menus. Whether you're using timed flags or tracking specific process IDs, you now have the power to keep your system awake until the job is done. Start your next session today and never let a sleeping Mac kill your momentum again.
See also: How to disable screensaver mac and stop display sleep · How to use the amphetamine mac app to keep your mac awake
FAQ
How do I use the macOS caffeinate command to keep my Mac from sleeping?
It's actually super simple. Just open your Terminal (hit Command + Space and type "Terminal"), then type caffeinate and press Enter. Your Mac will stay wide awake as long as that Terminal window remains open. It's the perfect quick fix when you're downloading a massive file and don't want your system dozing off mid-way.
When you're ready to let your Mac rest again, just click into the Terminal window and hit Control-C to kill the process. You can also just close the window or quit the app entirely. Your original power settings will kick back in immediately.
Can I set a specific timer for the caffeinate command?
You sure can, and it's a lifesaver if you're prone to forgetting your Terminal is running. Use the -t flag followed by the number of seconds you want your Mac to stay awake. For example, if you need an hour of uptime, you'd type caffeinate -t 3600.
This is great for those long renders or uploads where you know exactly how much time you need. Once the timer hits zero, the macos caffeinate command stops automatically, saving your battery from draining all night long for no reason.
What do the -i, -s, and -d flags actually do?
Think of these flags as your precision tools for power management. The -d flag keeps your display from dimming or turning off, perfect for presentations. The -i flag prevents "idle sleep," meaning your Mac won't nap just because you haven't touched the keyboard in a while.
The -s flag is a bit more aggressive; it keeps the entire system awake, though it generally requires your Mac to be plugged into a power source to work. You can even combine them, like caffeinate -isd, to ensure your screen and system stay fully active no matter what.
Is there a way to keep my Mac awake until a specific app finishes?
Yes, and this is a total pro move. By using the -w flag followed by a Process ID (PID), you can link the caffeinate command to a specific task. You can find the PID in your Activity Monitor. Once that specific process finishes or the app closes, caffeinate shuts down automatically.
This takes the guesswork out of timing. You don't have to calculate seconds or check back constantly; your Mac stays awake exactly as long as the work is happening and goes to sleep the second it's done.
What are the best alternatives if I don't want to use the Terminal?
If the command line feels a bit too "hacker-ish" for your taste, you should check out Amphetamine. It's a popular, free GUI alternative that lives right in your menu bar. You can toggle it on with a single click or set up "Triggers" to keep your caffeinate mac session active based on specific Wi-Fi networks or connected hardware.
For those who want something even more permanent, you can use LaunchAgents to run caffeinate automatically at startup. This is a favorite for people using a Mac mini as a server, ensuring the system stays awake 24/7 without any manual input.